Teach children how to make a wind vane
Teach Children How to Make a Wind Vane
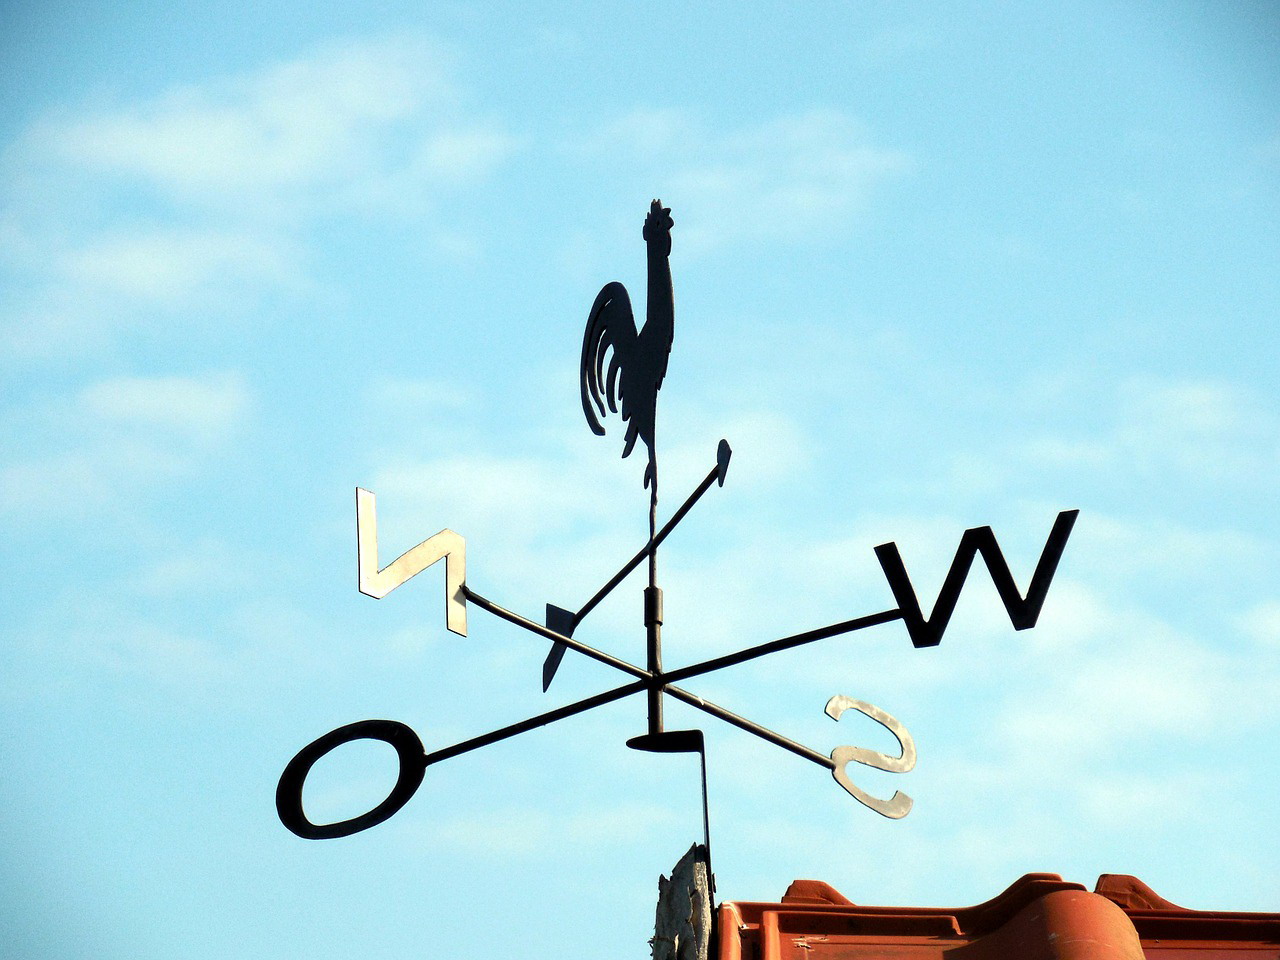
Wind vanes (also referred to as weather vanes) are attached to the top of buildings and change direction as the wind changes. They are often attached to the tops of buildings so that they are not affected by any objects are attached on the ground. Making wind vanes are perfect for a science project or as a fund decoration, or you could even make a more permanent design and mount it to your homes roof or to a post in the yard. These instructions will be perfect for children to make a simple wind vane made out of paper.
Six Easy Steps to Make a Wind Vane
- The first step is to take a straight plastic drinking straw and use scissors to cut a slit on each of the ends. These silts should be around one centimeter (which is close to about half an inch), but know that the silts do not need to be exact. If you only have bendy straws then you need to be sure to cut off the bendy part and then cut the slits in the two ends.
- You will need to cut a square and a triangle out of some sort of thick paper (manila folder, index card, thin cardboard). The triangle should be an isosceles triangle looking similar to an arrow head and should also be smaller than the square. And if you would like to add some excitement, feel free to draw on them or decorate them with stickers.
- Next stick the paper triangle and square into the slits you cut on the straw. You must put one in one end and the other shape in the other side. If they slip out then you may use glue to keep them secure.
- You will then need to fill a container with some heavy material (such as small rocks). The container should be about the size of a yoghurt container or a plastic drinking cup. Fill the container about half of the way up with whatever heavy material you choose to use. You will also need to make a lid for the container that fits tightly,
- Now stick a pencil with a rubber eraser at one end through the bottom of the container. Use glue to keep the pencil in place if needed. You will then have to put a pin through the straw into the eraser. The pin will be properly placed when the straw moves when you blow on it.